October 30, 2012

Happy Halloween!

Happy Halloween to everyone! It's been a few weeks since I've posted regularly due to an insane schedule, but because this is my most favorite holiday ever, I wanted to share with you guys a pumpkin party I recently hosted as well as my Halloween decor. It's no secret pumpkin painting is growing increasingly popular, and I love that they last longer than carved pumpkins and they're so much prettier. A few weeks ago I hosted a small get together with a few friends to welcome fall with some pumpkin painting, and we had a lot of fun.
I kept things very low key by pulling out various colors of paint and spray paint from my paint drawer. I also supplied tape, stencils and paint brushes for application.
For my pumpkin, I started by taping off some polka dots and giving my guy a coat of black spray paint. (I know I say this a lot, but it really does make such a difference in coverage when you go with a better brand of paint. I like Krylon or Rustoleum as they give great coverage in very few coats. If you go with the inexpensive stuff, you'll need three coats to provide the same coverage of one good quality can. So save yourself some time and invest in the best.) After the black was dry, I removed the tape to reveal orange circles and added silver and gold dots to the mix as well. The entire project took about an hour -- of course that hour also included mimosas and yummy treats, so no complaints here.
Here are the pumpkins all together after finishing. And I'm wrapping up the post with my Halloween decor. Most of this stuff I already had in my stash, but I did add the framed "31" this year. That number is one I use on a regular basis, so I'm quite fond of it. Last year I made the orange, black and white tassels, and I was so happy to reuse them again this year.
Hope you all have a wonderful holiday and end the night with some sweet treats! XOXO

October 22, 2012

Guest Post: Upcycled Fall Decor

After a week-long hiatus -- unfortunately blogging sometimes has to take a backseat when it's not your main gig -- today I am sharing with you guys Ashlie's ideas for bringing life back into empty bottles to create some affordable fall decor. Enjoy!

My good friend and fellow guest blogger, Becca, did a previous post about transforming bottles into customized home decor. I, too, have collected numerous bottles of different shapes and sizes and love finding new ways to utilize them. Some were purchased and saved for future use, others were gifted and a few are antique finds. The versatility of these little gems is what makes them so great. I have put together a few groupings and hope that you see at least one that piques your interest.
I started out by soaking the bottles in really hot, soapy water and used an SOS Pad to scrub the labels and adhesive from the glass. Once that is complete, it's time to utilize your inexpensive new house accessory.

MATERIALS

OWNED - White String Lights, Bottles, Teflon Tape -1/2"
PURCHASED - Lowes & Home Depot - Yellow Mums, 1/2''-3/8" copper coupling,1/2" copper cap,  replacement tiki torch wicks, torch fuel
GIFTED - Single blooms, wine carafe, moss green decorative sticks, Pumpkin
Here I simply cut a few stems from the mum plant and placed them in dark green and brown bottles. The colors really pop and this can be used as a centerpiece or just to brighten up a room. The beauty of this is that you really can't mess it up! Just add or take away and customize to the area you have to work with.
\
This time I used some white Christmas lights inside of a clear wine carafe and used the remaining lights to wrap around the mums and the table legs. I also used things around the house to put together some autumnal outdoor decor.
Now for the in depth portion of this project...Wine Bottle Lanterns.
I do need to give some major kudos to my Hubby yet again, as he did the mounting and necessary adjustments to make it all come together. I first heard about this project from a friend of mine and had been wanting to try it ever since. The materials are fairly inexpensive and were all purchased from Lowes and Home Depot; materials for the lantern and the mount were probably around $25 for everything. This is of course after 3 total trips to different stores and purchasing incorrect materials. However, if you have done any type of home project, then you know that is all part of the finished project! Due to the fact that this was a project that Lee actually had to complete for me, I am including some helpful "How To" sites that may provide you with a more directive approach. It includes a list of materials as well.

First, wrap the larger end of the coupling with Teflon tape until it is securely nestled in the mouth of the bottle. Next, place the wick inside of the coupling so that it extends about 1/2 " above the end. Pour the fuel into the bottle, ensuring that you fill it up enough to meet of the end of the wick. (You may find longer ones online vs. your local home improvement store.)   Finally, insert the wick in the mouth of the bottle and tighten the hex bolt for a snug fit. The 1/2" copper cap is placed on top of your wick to keep it dry while not in use.  

Now it's time to channel your creative side for an autumnal inspired outdoor gathering!  

October 10, 2012

Guest Post: Tyler's Take on Terror

Fall is officially here! Pumpkin spice lattes, cooler weather and holiday decor - the perfect trifecta in my opinion :)
 
Halloween really kicks off the holiday season and in our neighborhood, everyone gets into the spirit of things. The houses end up looking super festive and it's fun to see what everyone comes up with.  When I began decorating our house, I couldn't wait to get some pumpkins on our front porch. I arranged a number of them on our steps and by our front door. 
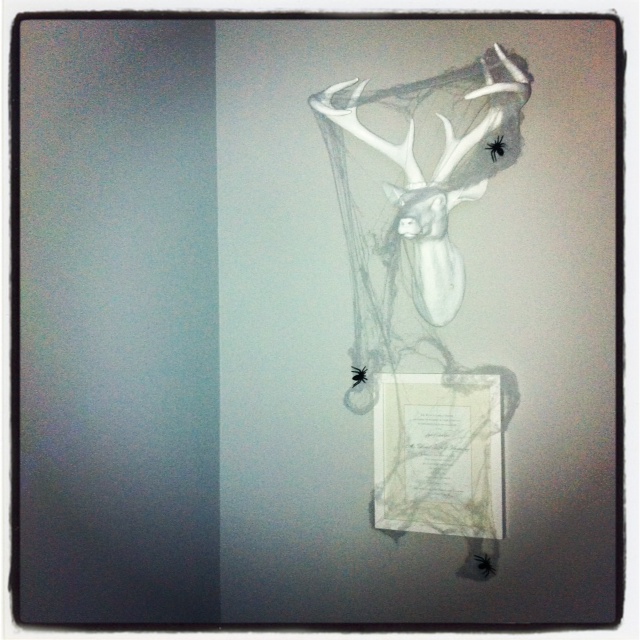
From there, I dug out our decorations that I have been collecting over the past few years (please see below for sources - each item I purchased was under $15). The spiders are great because they're bendable and can easily attach to the railings (they're also weather proof).  The bats, boo sign, broomsticks and skull all help with making the porch look extra fun and creepy.
If it's standing still, I feel you should decorate it - hence our mailbox.  I draped it in fabric, hung a boo sign and attached a smaller version of the spiders that are on the front porch.
Lastly, I wanted to create a Halloween vignette in our dining room.  I went with the theory that we couldn't have too many spider webs.  I added in some scary books, miniature spiders, candle holders, medicine bottles and an awesome gold skull, which when covered by a cloche makes for a perfect centerpiece.
I hope you all have a very happy Halloween!
 
Sources
Pumpkins - Home Depot and Target
Spiders (large and small) - Target
Bats, Broomsticks and Silver Skull - HomeGoods
Orange Boo Sign - World Market
Mailbox Drape - Target
Black and Silver Boo Sign - Gifted
Spider Webs - Target
Books - Goodwill
Gold Skull - Z Gallerie
Cloche - One King's Lane
Candle Holders - HomeGoods
Medicine Bottles - HomeGoods